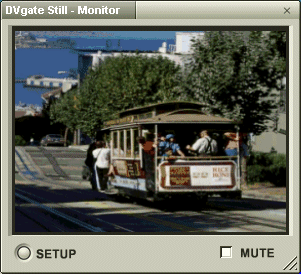
Displays video images received from the DV device.
[SETUP] button
The [SETUP] button is used to specify image area-related settings and image resolution.
Click the [SETUP] button, and the following menu appears:
[Fit at Aspect Ratio]
Sets the aspect ratio of the image area automatically to that of the video image.
[Fix at Normal 4:3 Aspect Ratio]
Sets the height of the image area based on its width so that its aspect ratio is 4 to 3. The aspect ratio remains the same even if the Monitor Window is resized.
[Fix at Wide 16:9 Aspect Ratio]
Sets the height of the image area based on its width so that its aspect ratio is 16 to 9. The aspect ratio remains the same even if the Monitor Window is resized.
[Unfix Aspect Ratio]
Allows you to set the image area to any size or aspect ratio you want.
[Full Screen]
Sets the image area to the full screen.
Hint
You can also set the size of the image area by dragging the size grip.
Note
You cannot set the image area to a size smaller than 160 x 120 or 160 x 90 pixels.
[Settings]
Further displays the following options:
[Low Resolution]
Displays image at low resolution.
[Middle Resolution]
Displays image at medium resolution.
[High Resolution]
Displays image at high resolution.
[Mute]
Specifies whether recorded sound data is to be played back in synchronization with video during playback.
[MUTE] check box
This check box is used to specify whether recorded sound data is to be played back in synchronization with video during playback.
Sound is played back when the check box is unchecked and no sound is played back when it is checked.